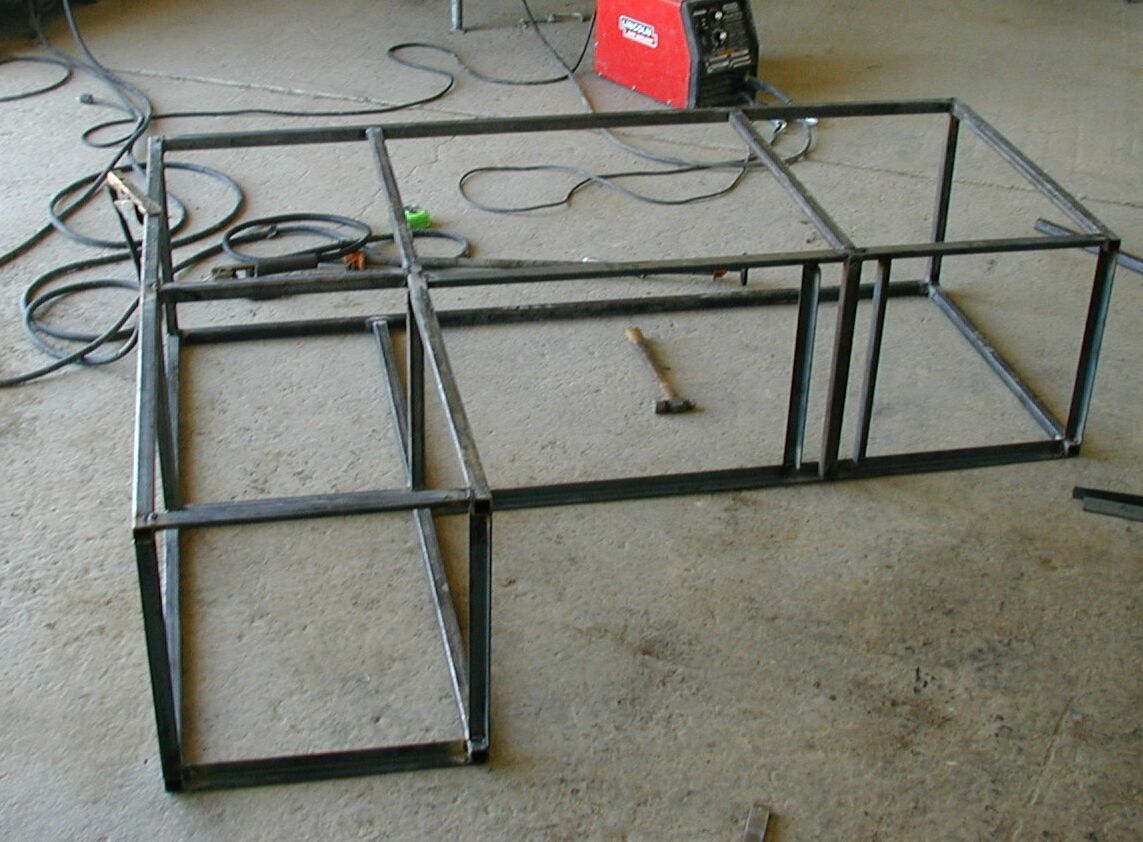
| Got the frame all welded up on June 27, 2003. Took around 6 hours to just do the welding (and all the steel was already cut). The Lincoln MIG welder (in the back ground) I was using had the trigger go bad about a fourth of the way through and I switched over to using an old, but very good stick welder. The weld is a little more tricky, and it leaves more slag, but it did a good job, even in my less than experienced hands. Thanks to my dad for letting me use it.
|
| You can see the ground clamp from the stick welder here. I started by welding the main side panels first (tall uprights, then the lower burner sides), keeping certain that everything was nice and square. Then I stood the two pieces up, placed clamps on them with the cross braces in place, and squared the whole assembly up. Then I tack welded a couple of the cross braces and made sure it was all level and squre and then just began welding all the joints, turning the frame over and over to get a nice flat weld (vertical welds suck). In the background, you can see the new helmet that I was using. It is VERY cool. I am use to the old style that you had to lift up to see through, then keep your place with your hand while you dropped the shield into place (usually messing up your arc strike point). This new one has an electronic sensor that quickly opaques the sight window the moment light hits it. I worked like a dream.
|
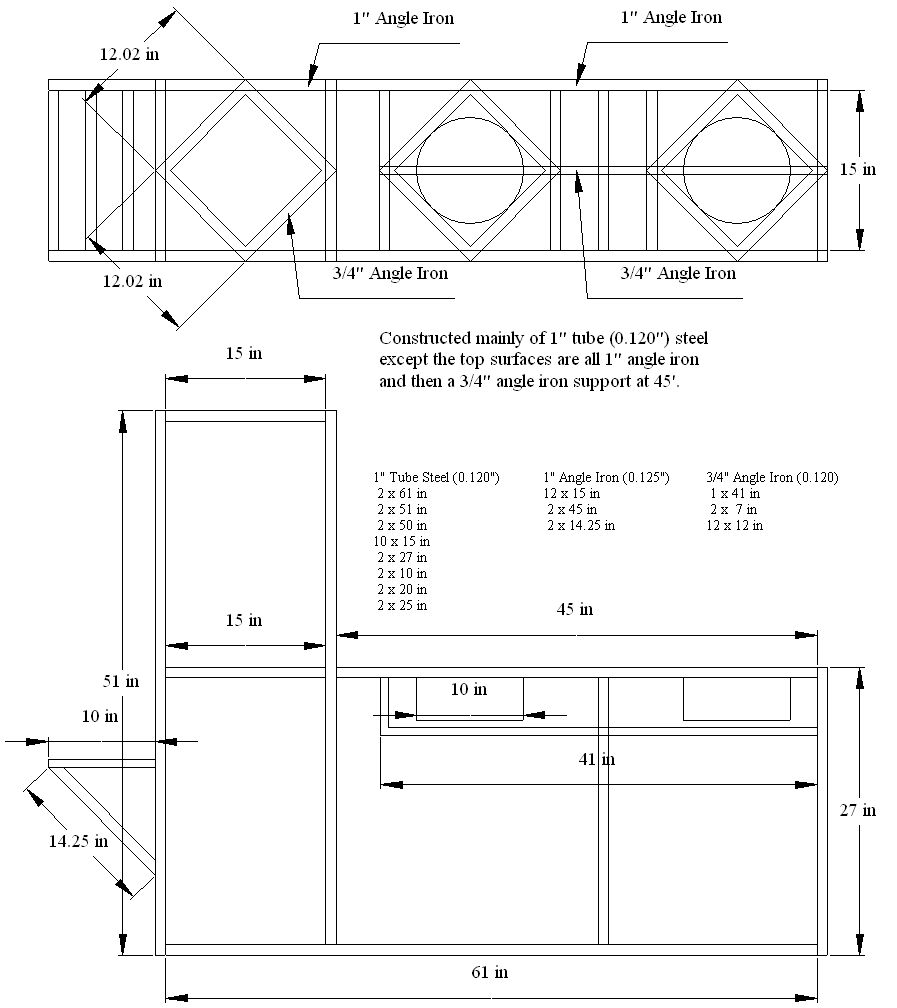
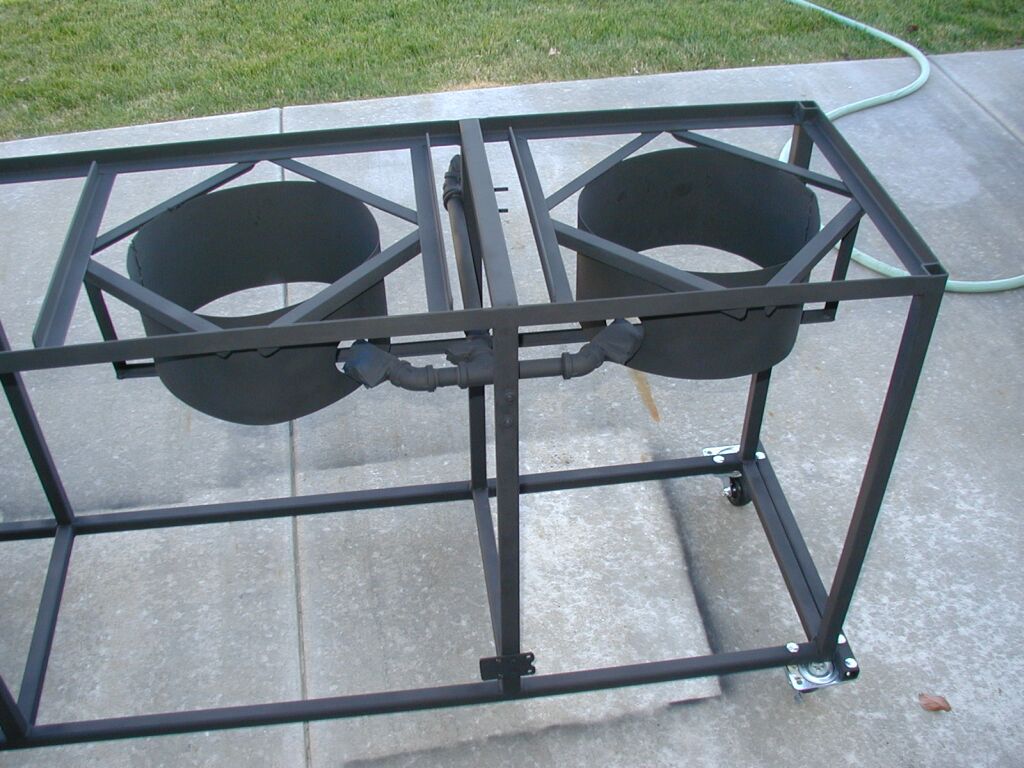
| Note that the top surfaces are all made of 1" angle iron, to allow the brew kettle, HLT, and mashtun to sit down inside and not risk sliding off. Care must be taken to get everything square and good welds all around.
|
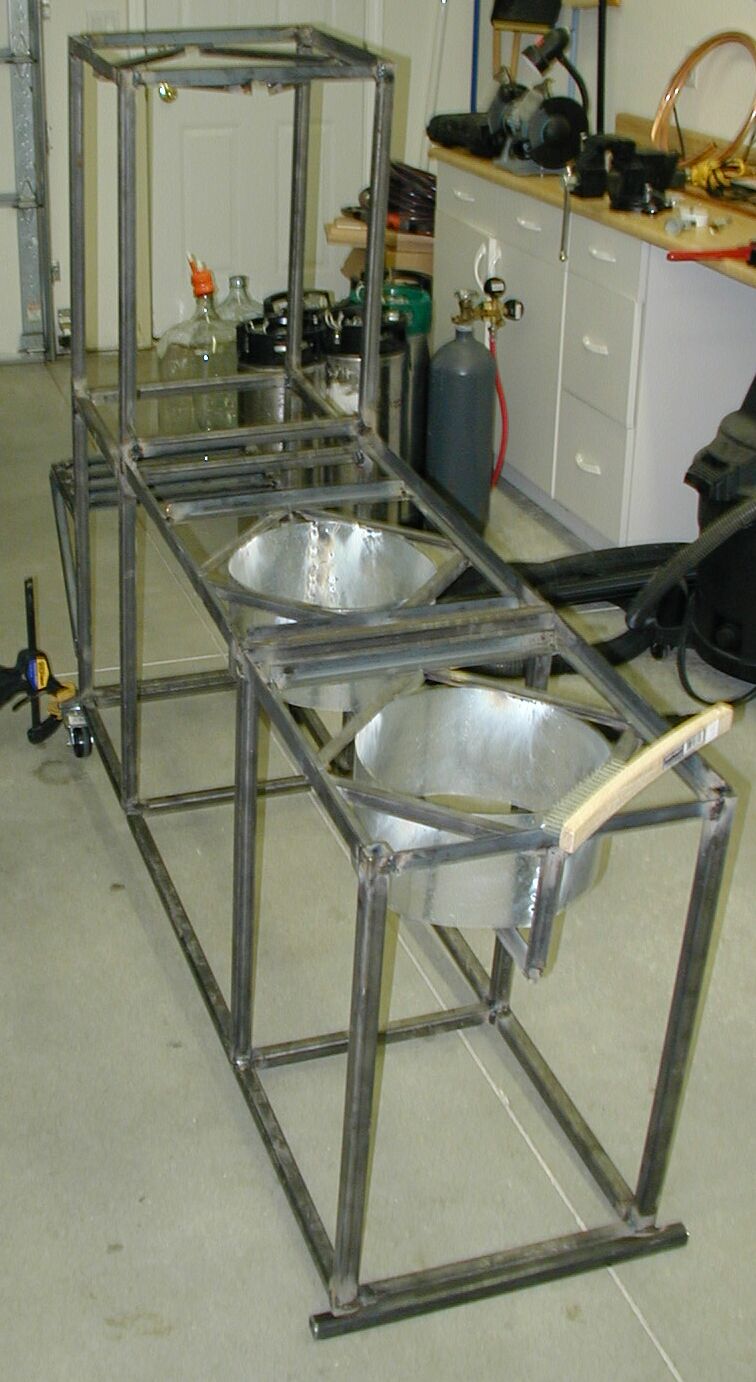
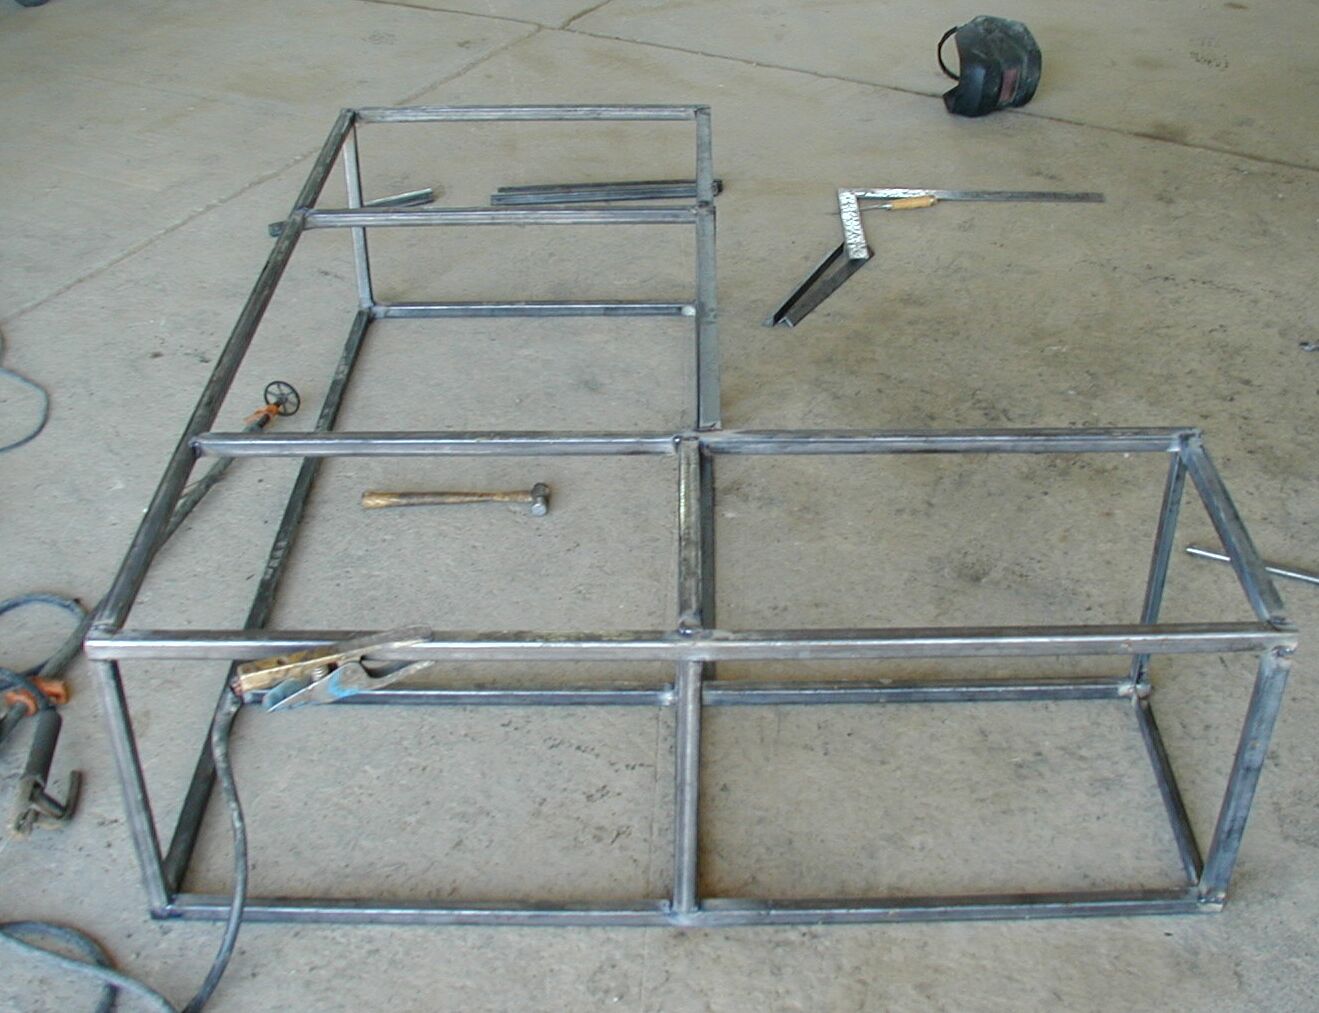
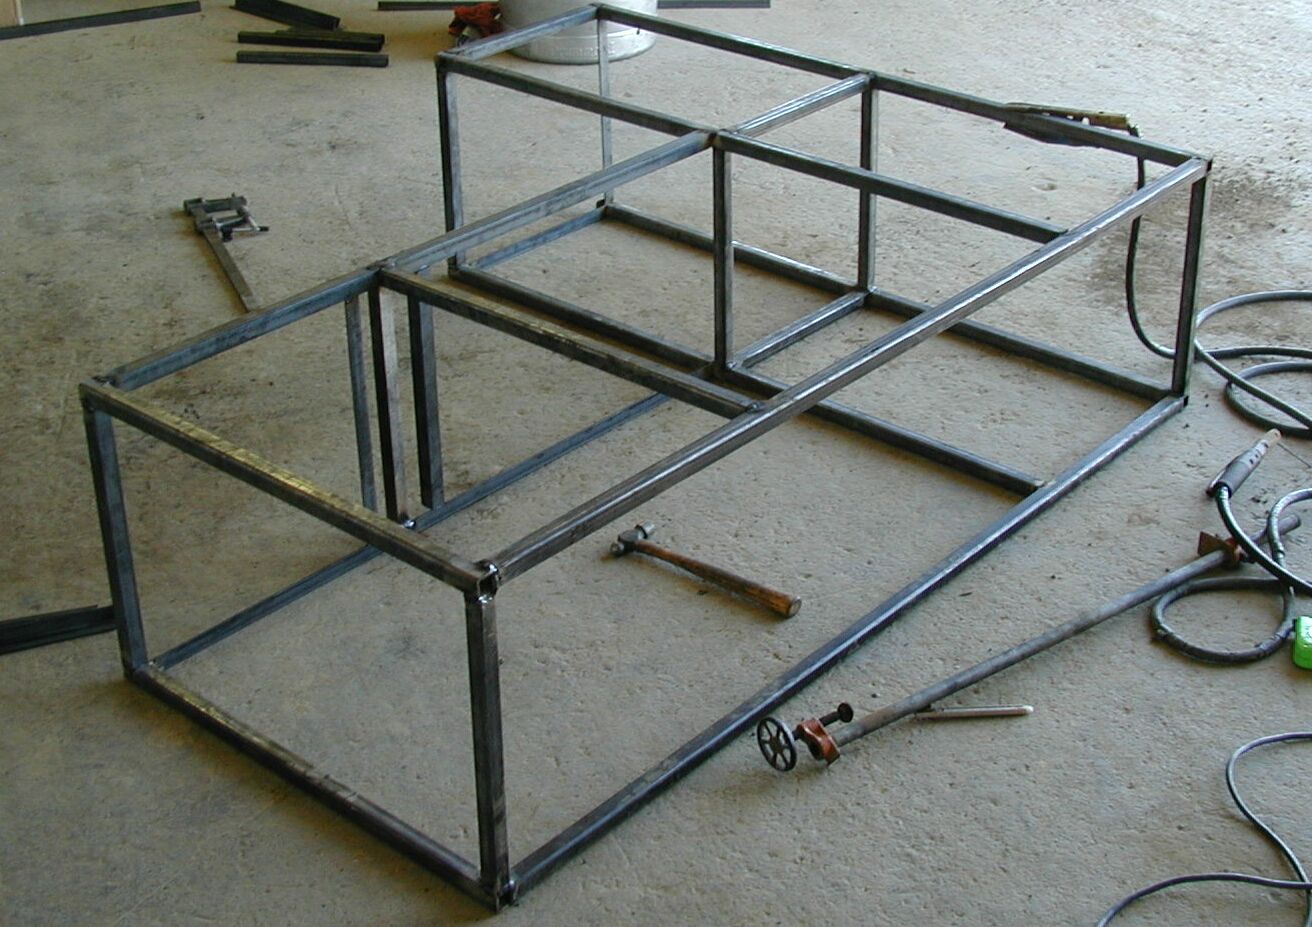
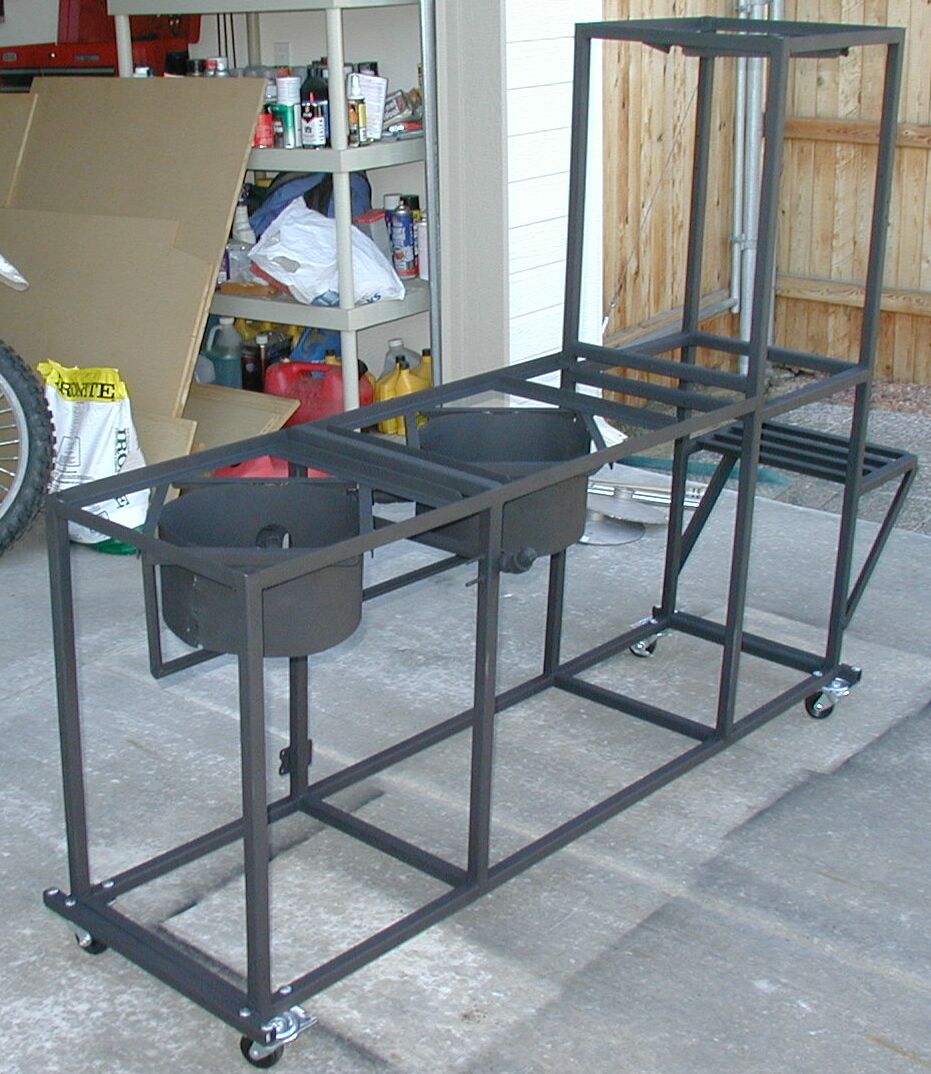
| Here is the raw finished product. It hasn't yet had the welds cleaned and has a lot of flux slag on it and small weld burrs on it still. You can also see the galvanized tin that was used for a wind screen around each burner. I also only have the small caster wheels temporarily clamped on to one end to help move it around. I will make sure that it is all shimmed and leveled before bolting them on. And I need to finish cleaning the whole thing before painting it. I'm hoping to use some bright blue high temp paint, but I may only be able to find some black.
|
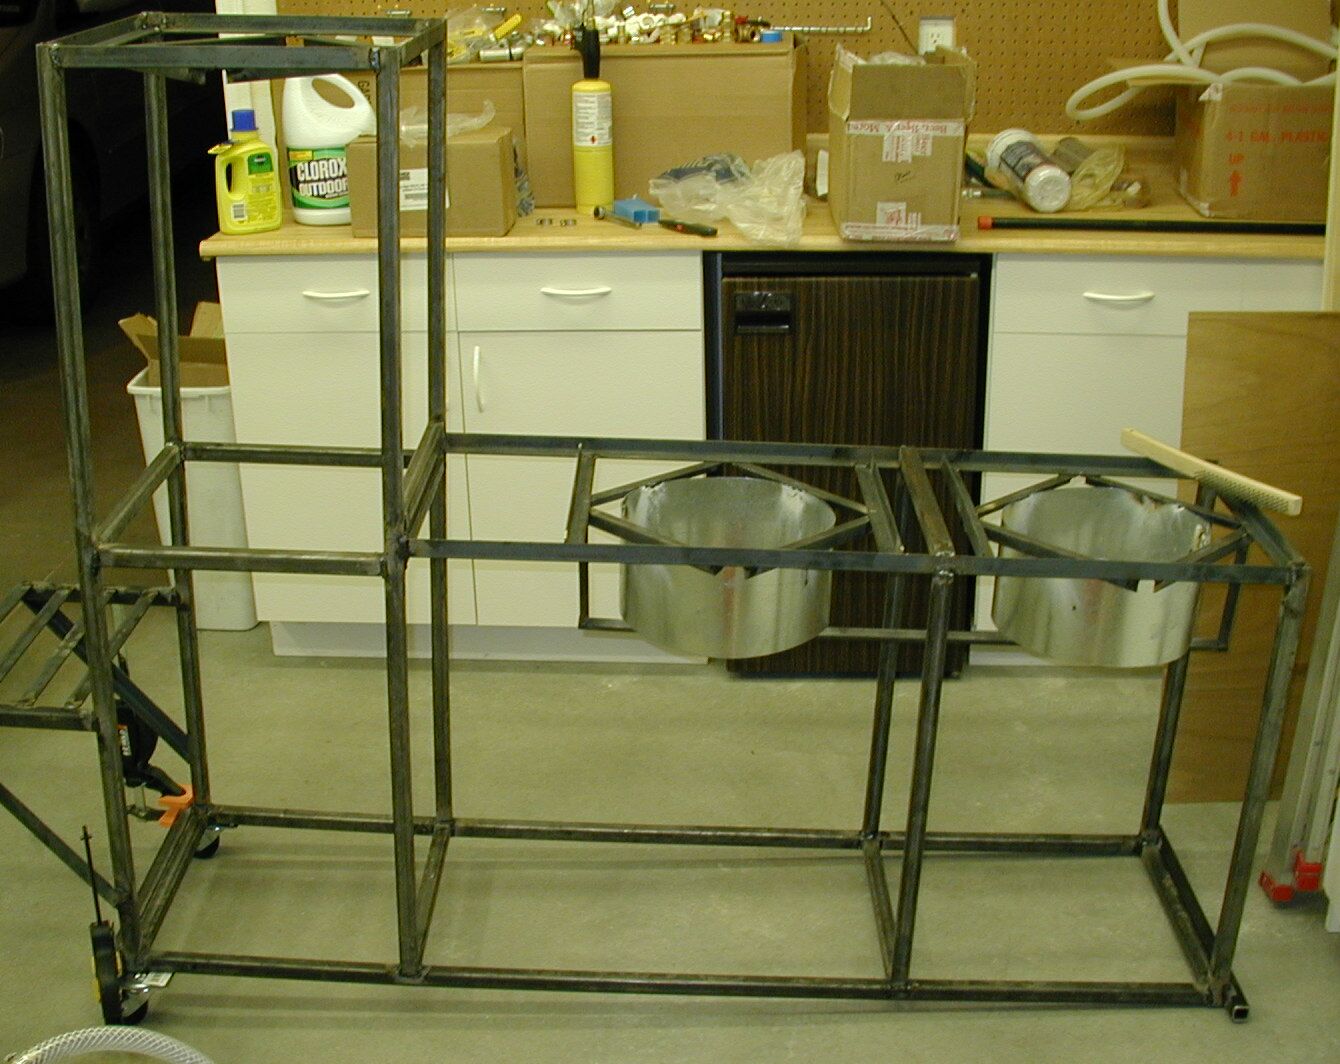
| The frame shadow makes it looked bowed on the bottom in this picture, but it isn't (I hope...grin).
|
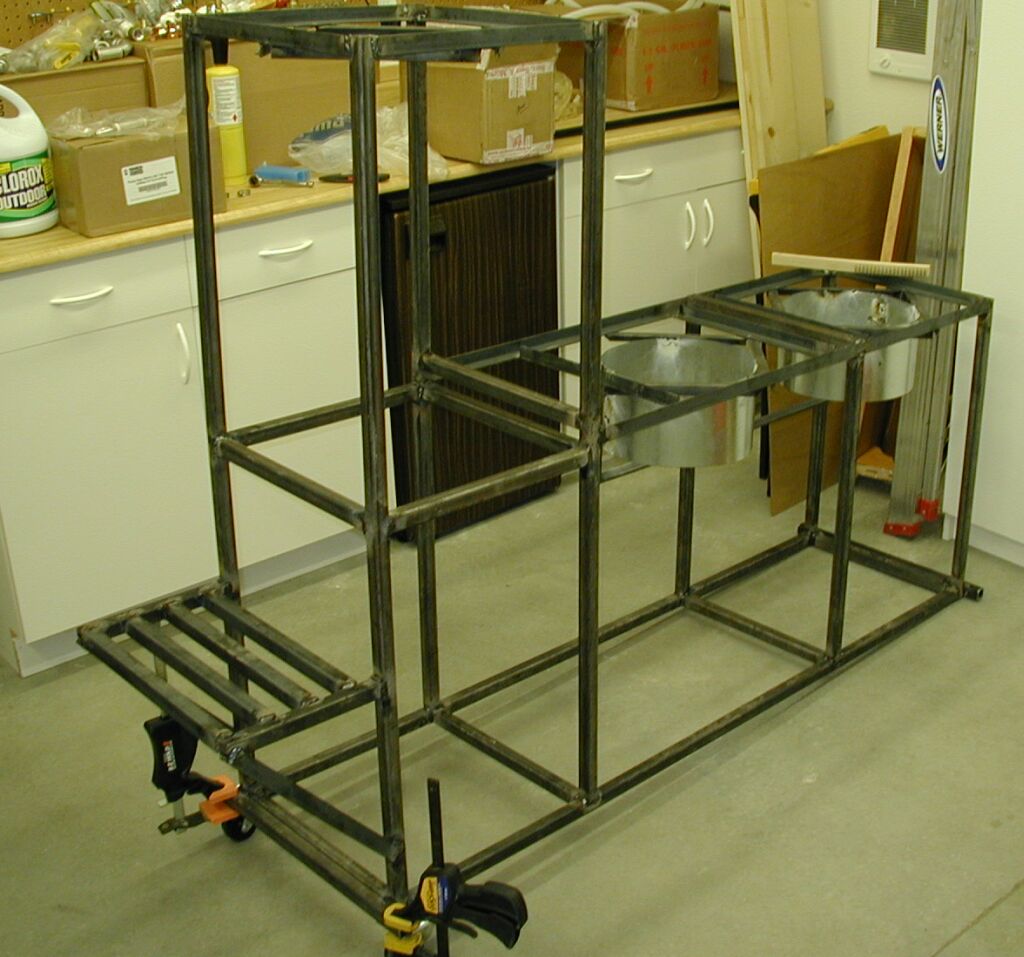
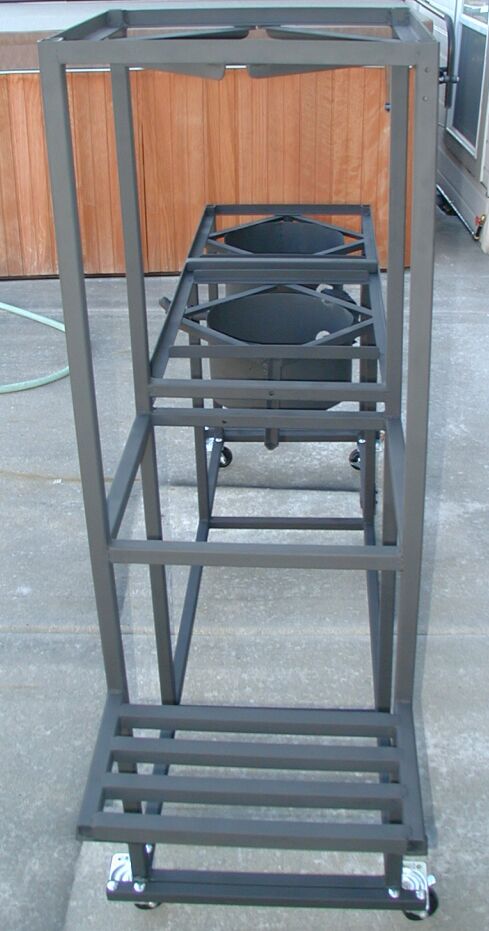
| I put a sturdy stand on the tall end where the mashtun will sit to be able to step up and look into the kettle while steeping and sparging.
|
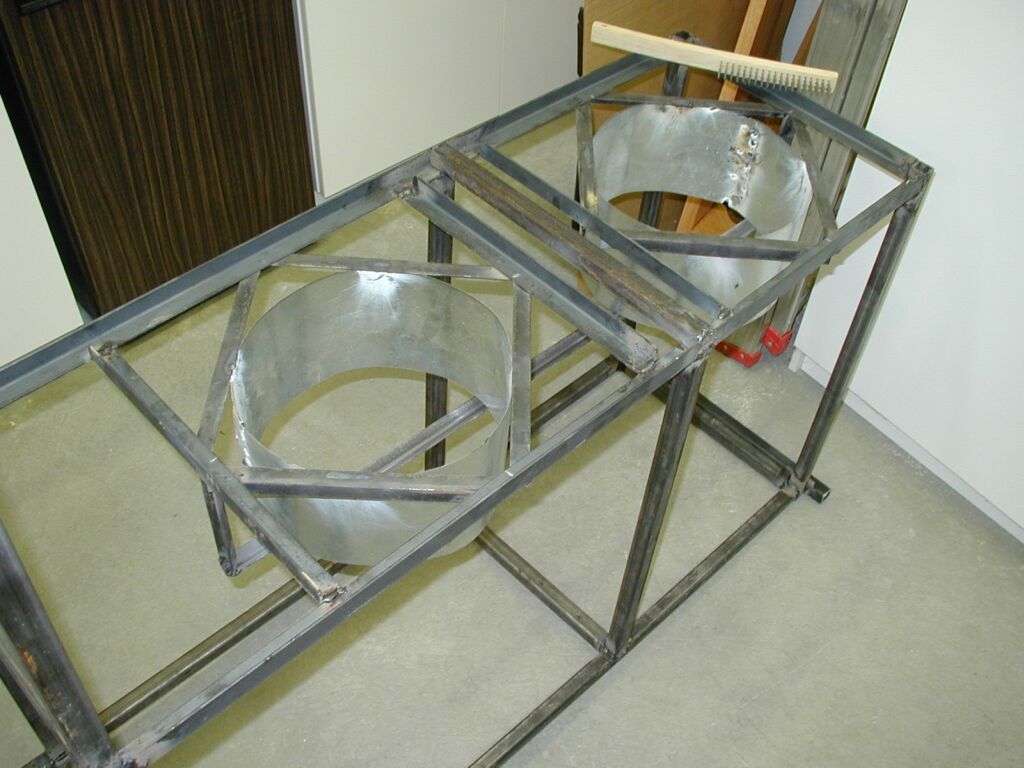
| Here you can see the diamond 3/4" angle iron to keep the kettles from getting off center and falling through. Also, there is a better close up of the 1" angle iron for the top of the frame and the galvanized tin for the burner screens.
|
| All painted in high temp black enamel.
|
| I must advise you to be very careful to drill small drain holes at the bottome of the frame in any place that may catch water and not drain (like the square tubing that butts up against another face. This will help aviod rusting.
|
| Hope this doesn't scratch all up and stuff, but it probably will. At least it will help protect it from rust.
|
| All the equipment back on the frame after painting.
|

| Picture of one of the 100,000 btu natural gas burners (with pilot light).
|
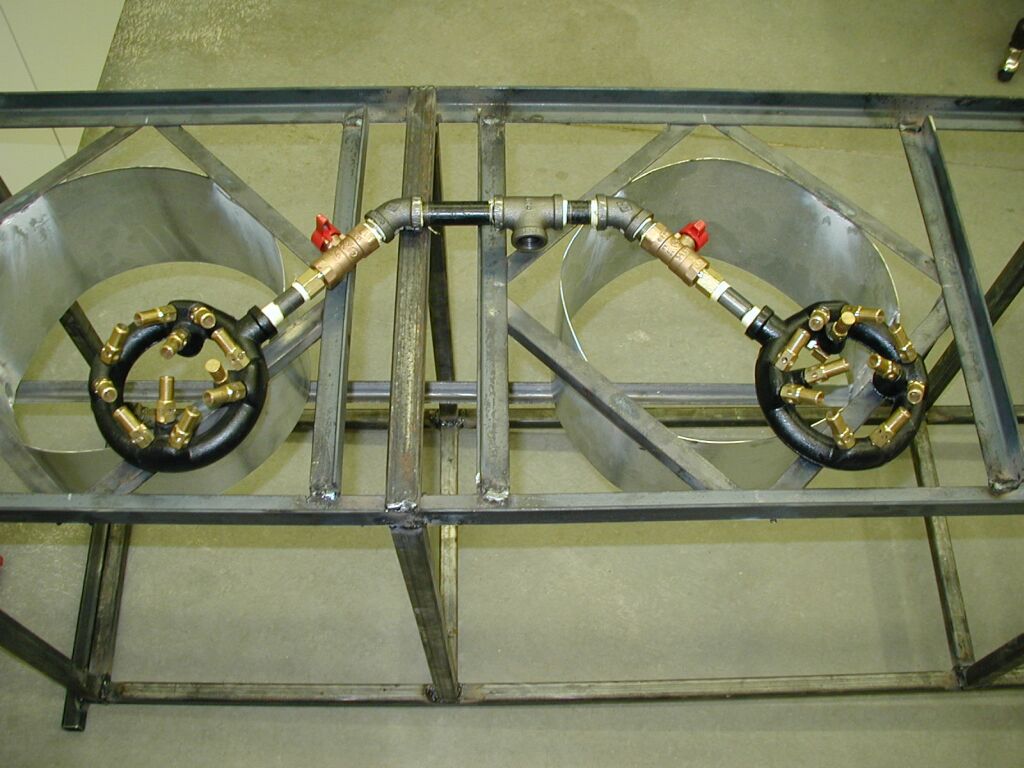
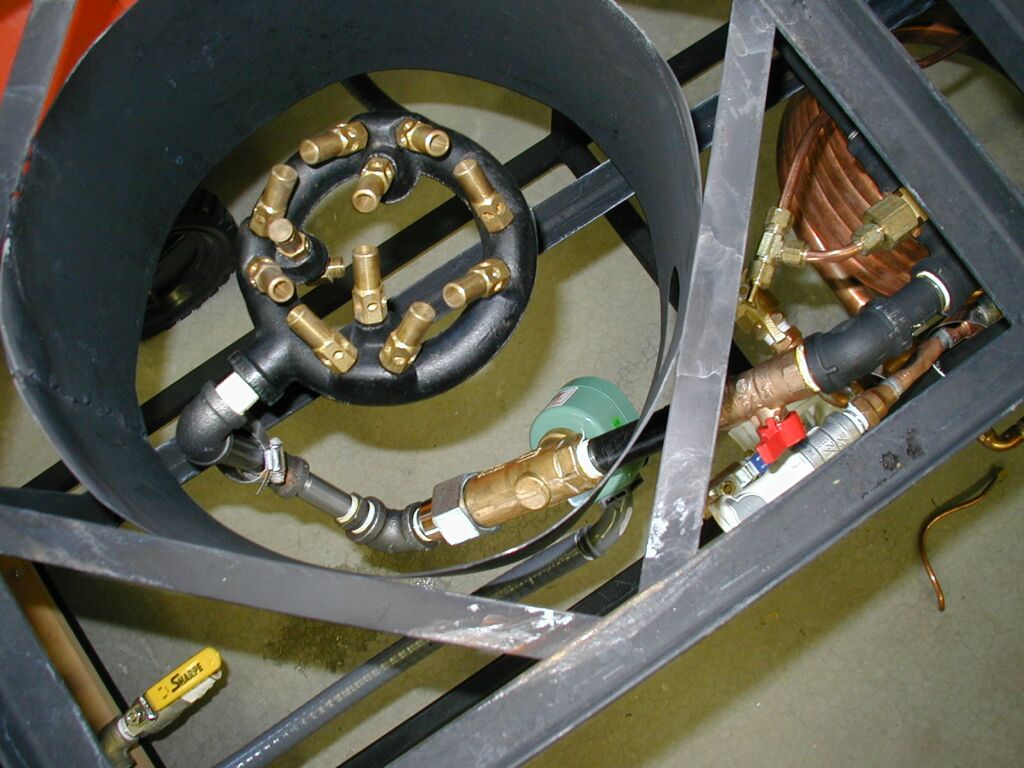
| Here is the burner assemblies all connected with black iron pipe, compression fittings and ball valves.
|
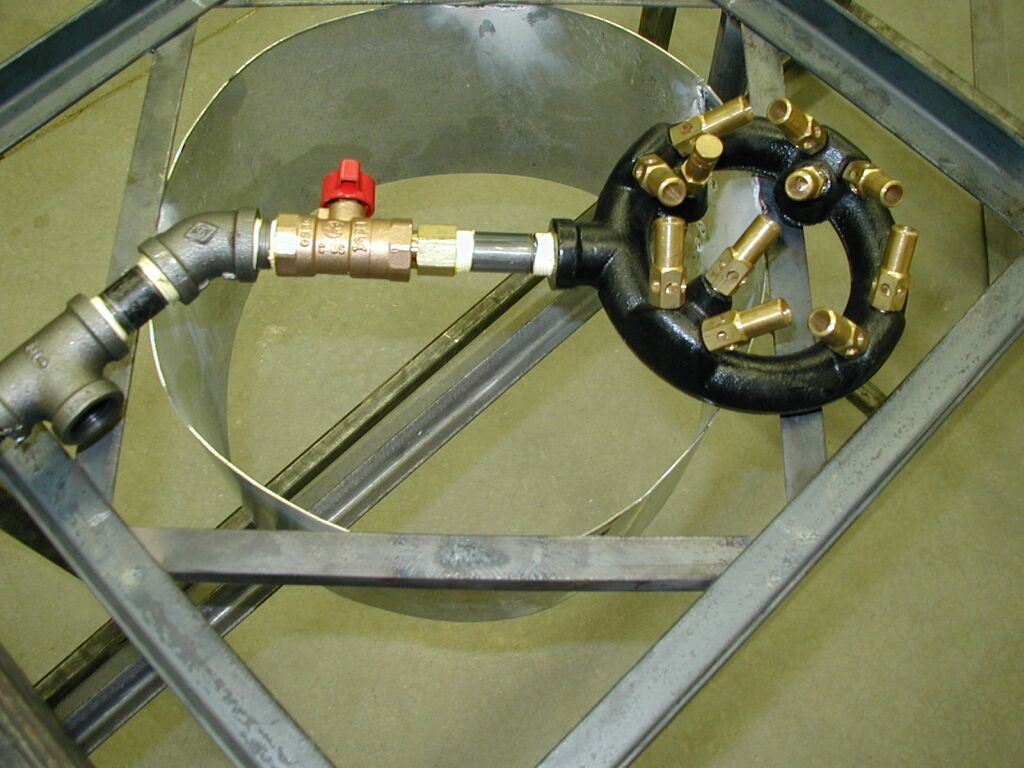
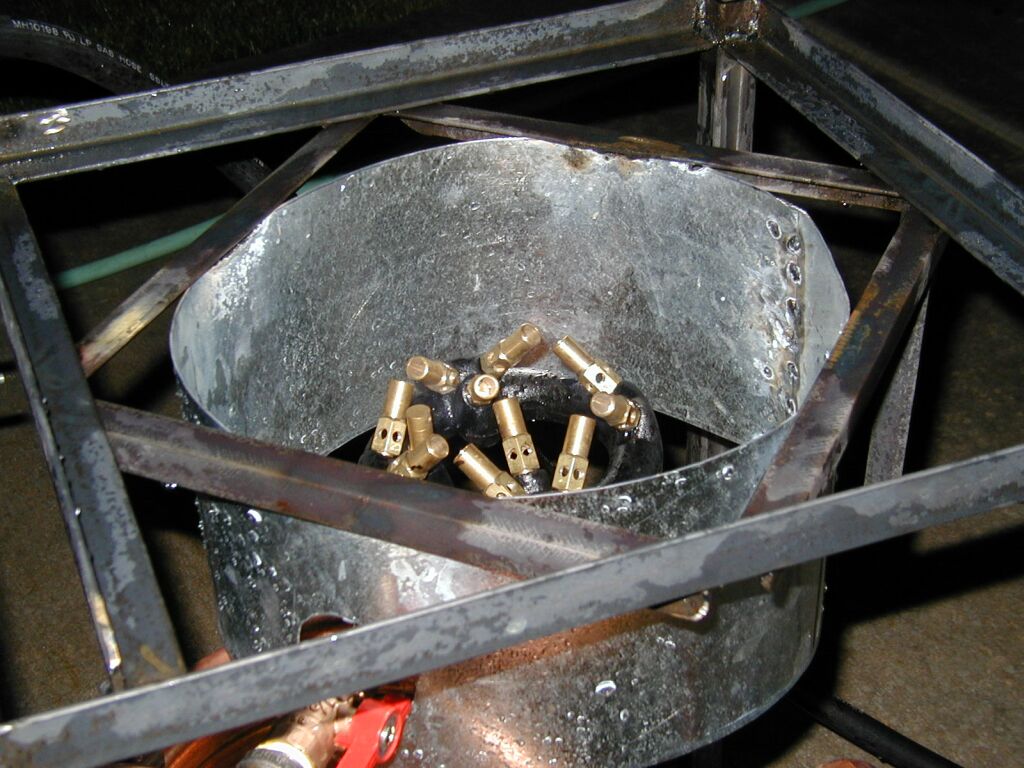
| Close up of one of the burner assemblies and ball valve. I haven't yet mounted the burners in the wind screens.
|
| Just another close up of the burners. You can see the pilot light pluming for 1/4" soft copper on the bottom of the two burners (just barely exposed on the closest burner). I'm mounting a 16" long 1/2" black iron pipe to the tee that runs out to the back of the frame, and then into a flare tee that sizes down to 1/4" compression, which is then tee'd off again to split constant gas flow to the pilot lights.
|
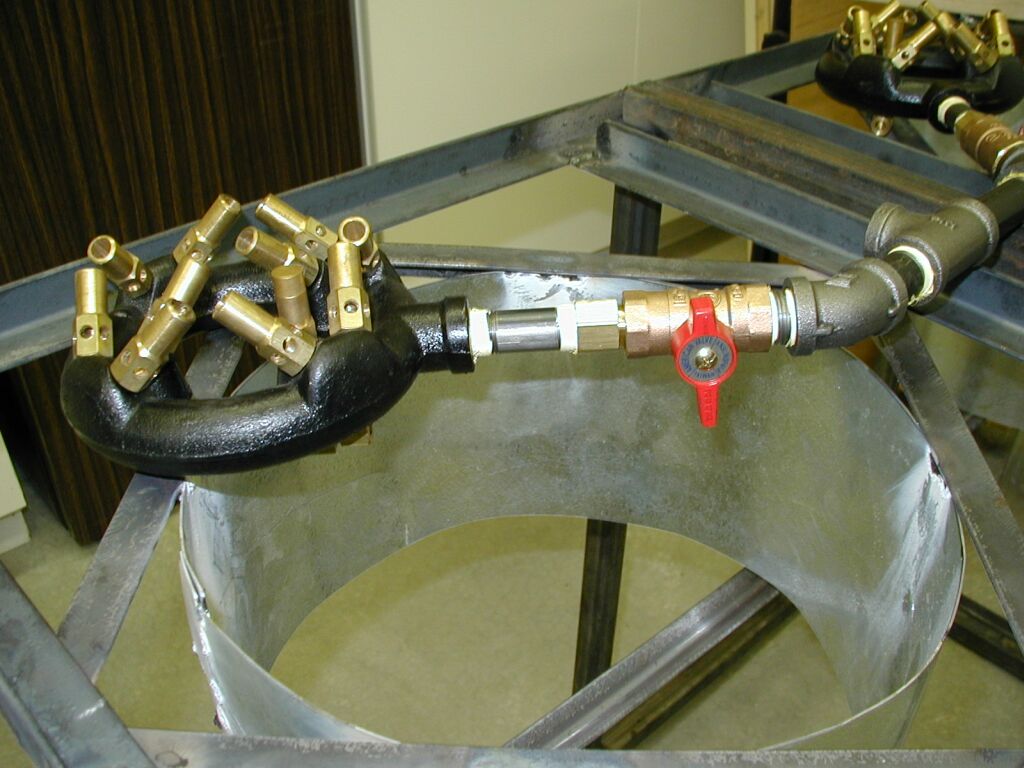
| Here the burners are mounted in the frame and I've plumbed the pilot lights. You can see the hole I cut in the shield for the main line to pass through.
|
| Here is a shot of the mounted burner in the shield. It just sits in there supported only by the main 1/2" black iron gas line.
|
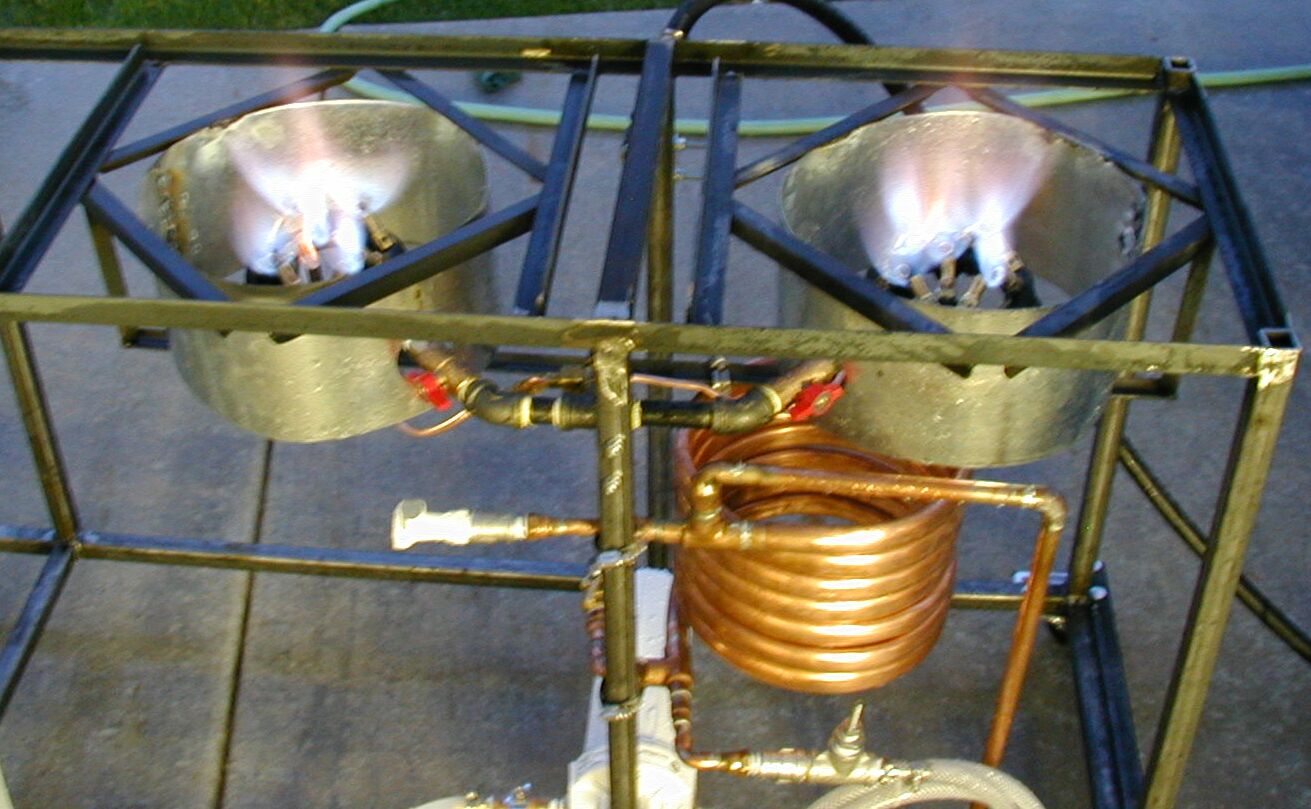
| Here is a shot of the two burners going full bore. This is connected to my natural gas line from the house. It still took almost 50 minutes to boild 10 gallons of water (from 50'F to 210'F).
|
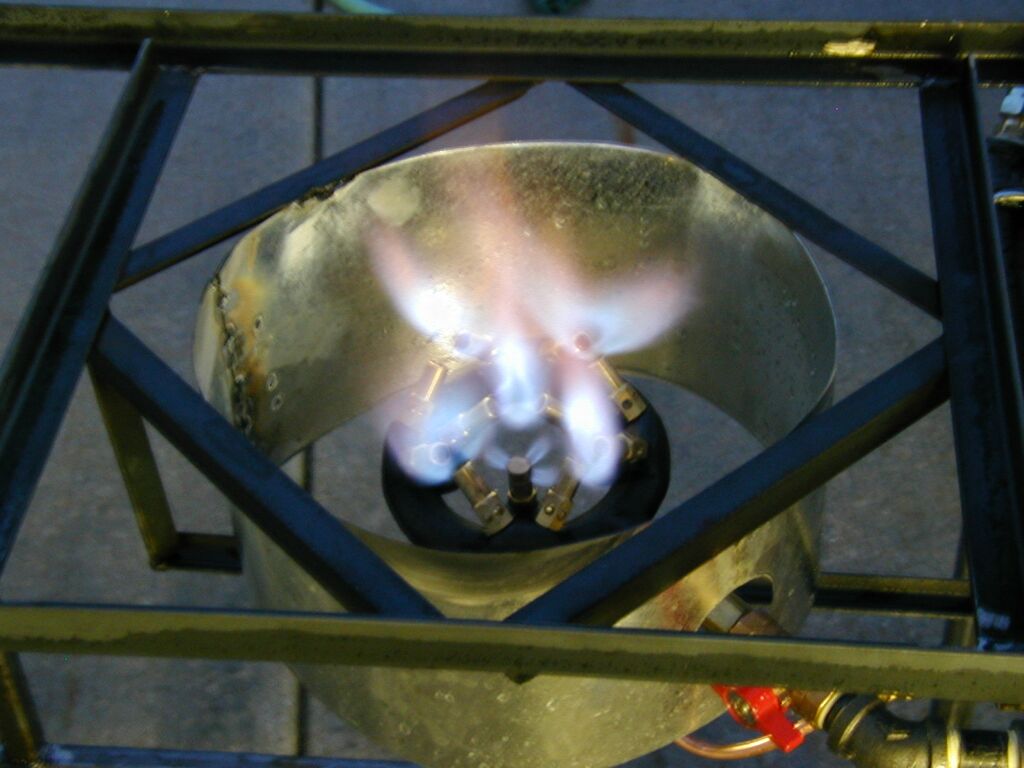
| Here is a shot of a solo burner and the flame.
|
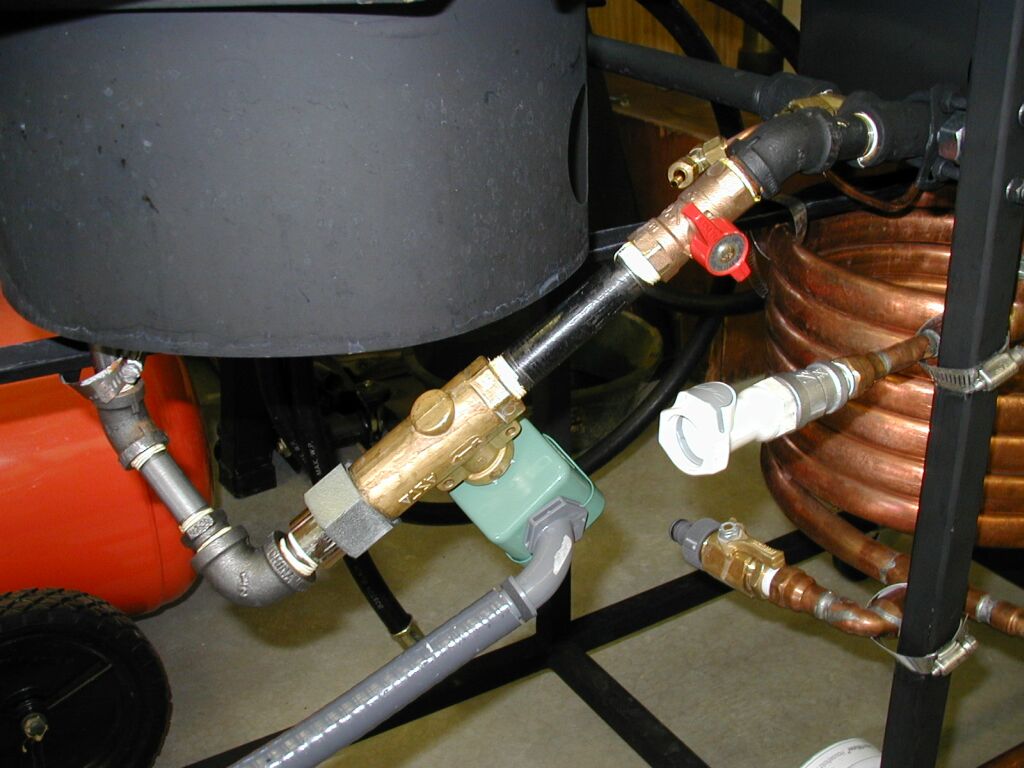
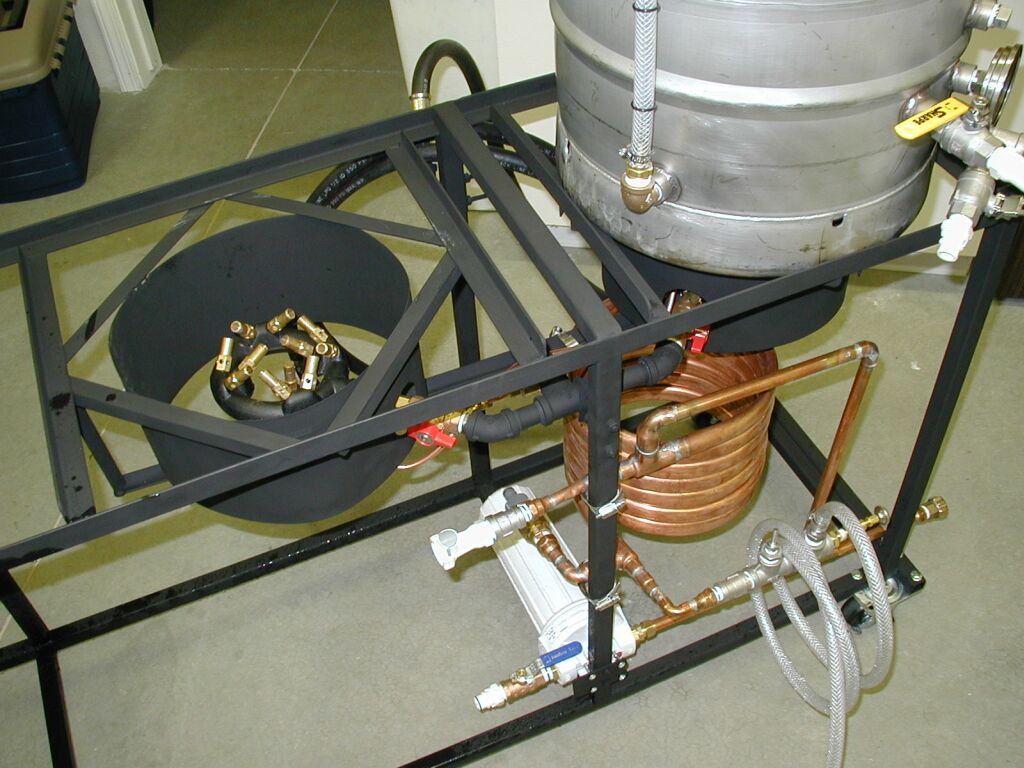
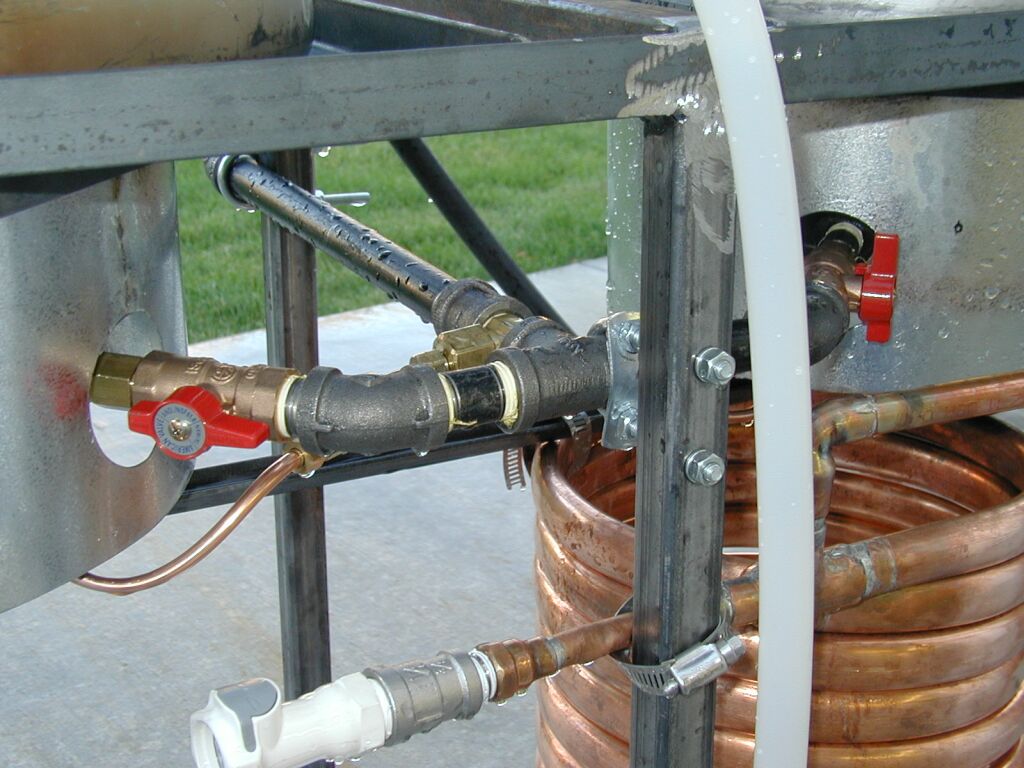
| Just put a new temp controller on the HLT burner and installed this ASCO 1/2" 120V AC electrical solenoid. This is a normally open (NO) solenoid, so it should work when the system is not energized, but I also have a manual ball valve that I can still use to turn off or on and to controll the flame.
|