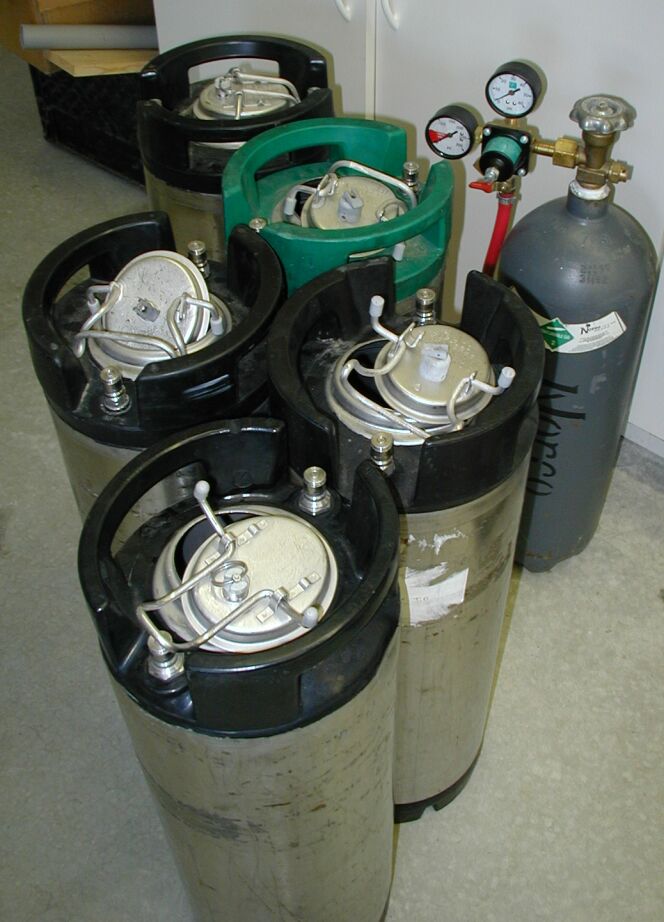
| 5 of my 5 gallon Cornelius kegs, used to store, carbonate, and serve my home brew. These were given to me for an EXTREMELY good price by a friend that no longer was homebrewing.
|
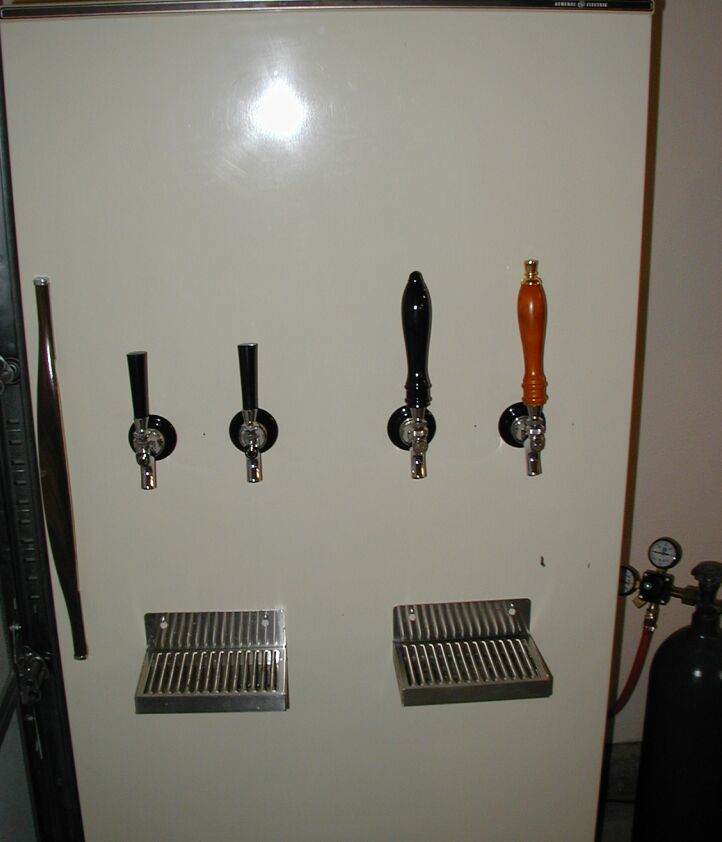
| My "new" used 13 cu-ft refridgerator for serving. I got this after ruining my chest freezer by drilling into the cooling lines. This one is setup with 4 taps and two drip trays.
|
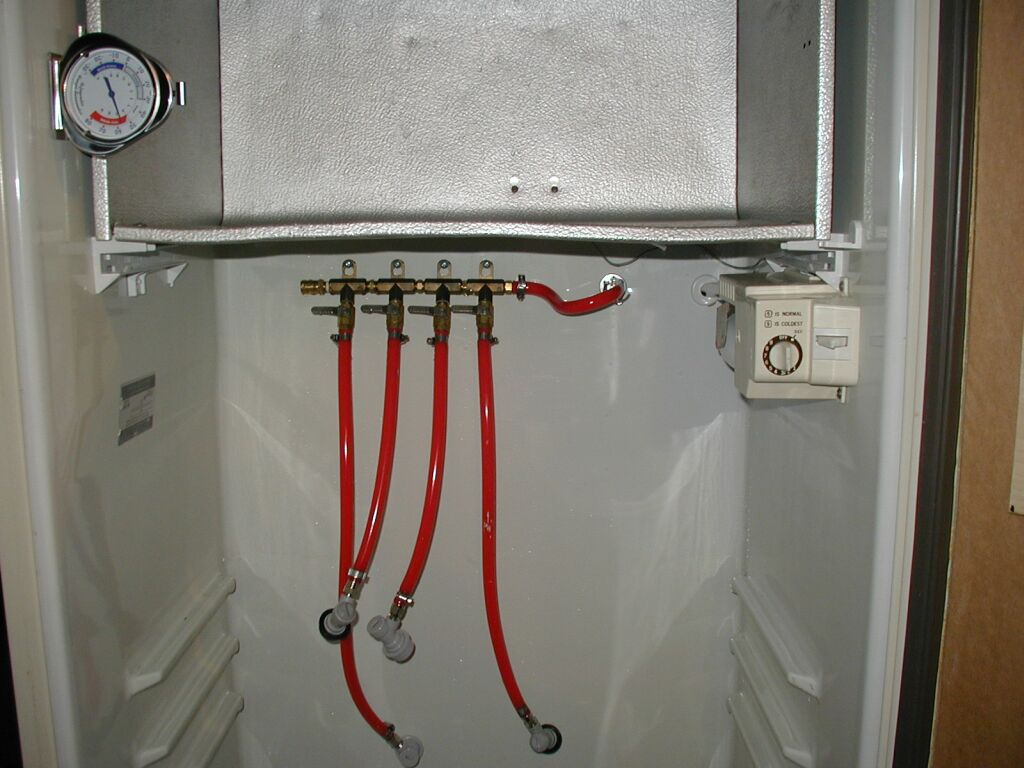
| Here you can see the 4 line gas manifold. This has a pressure releif emergency valve on one end, and each serving line can be individually turned off. Also, each gas line has a check valve to avoid backflowing beer into the lines. I'm extremely happy with how this simplified my gas lines, and since I have at least once hooked a full keg with high pressure in it to a serving pressure line and back discharged beer into my gas lines, the check valves here are very nice.
|
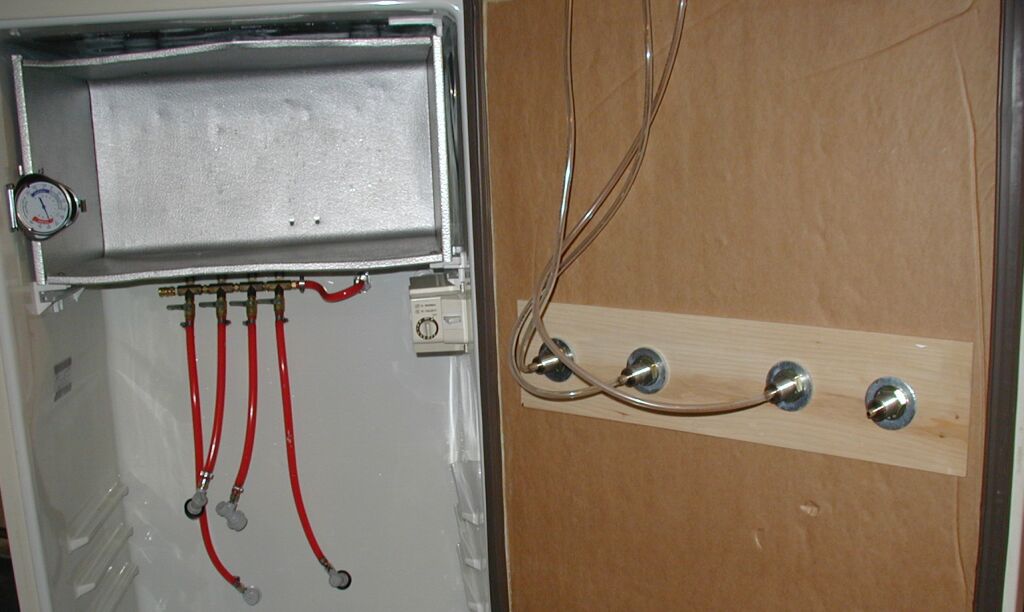
| I had to remove the inside of the door panel with all the shelves to allow 4 kegs to fit into the relatively small fridge. It also made it simpler to mount the faucet shanks in. I used a small piece of 1/4" birch to help support the faucets on the inside of the door insulation.
|
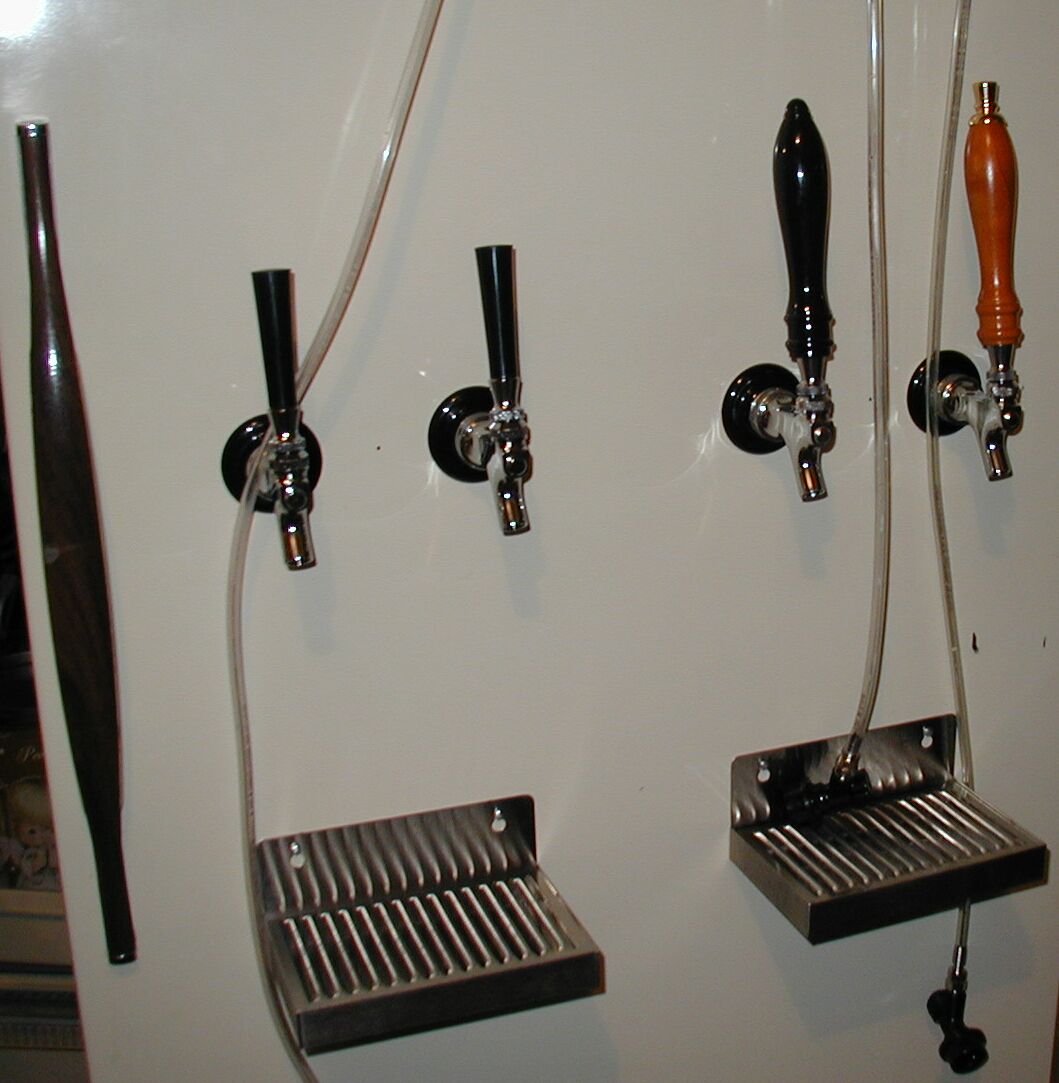
| Close ups of the faucets and the stainless drip trays. The drip trays are worth it. They keep the floor from getting sticky and it seems like I am always setting my beer glass down on them to let the head settle on a too highly charged brew.
|
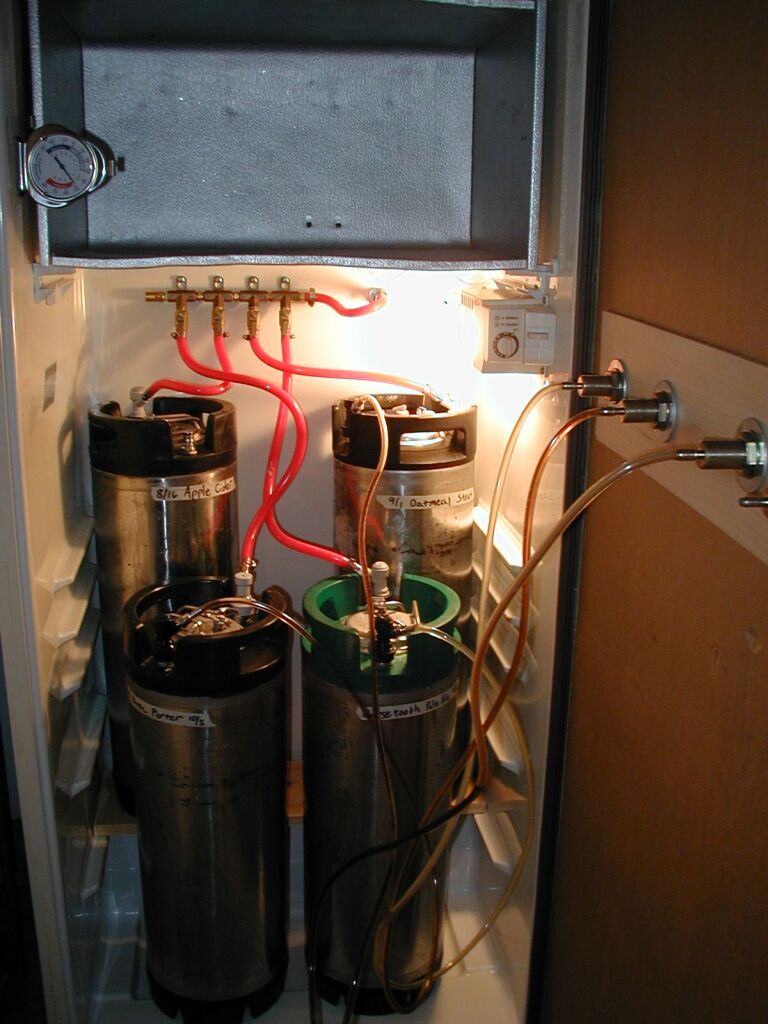
| A view inside with all 4 kegs hooked up. You can see the small shelf the back kegs sit on because of the slight slant in the back for the compressor area. I use about 7 or 8 foot of 3/16" ID clear silicon tubing for my serving lines. It is a pain to fit onto the 1/4" ribbed shanks and ball locks, but a little hot water helps, and the increased head drop makes it nicer for serving without foaming. I'm planning to put glass mugs in the top part so they are nice and frosty.
|
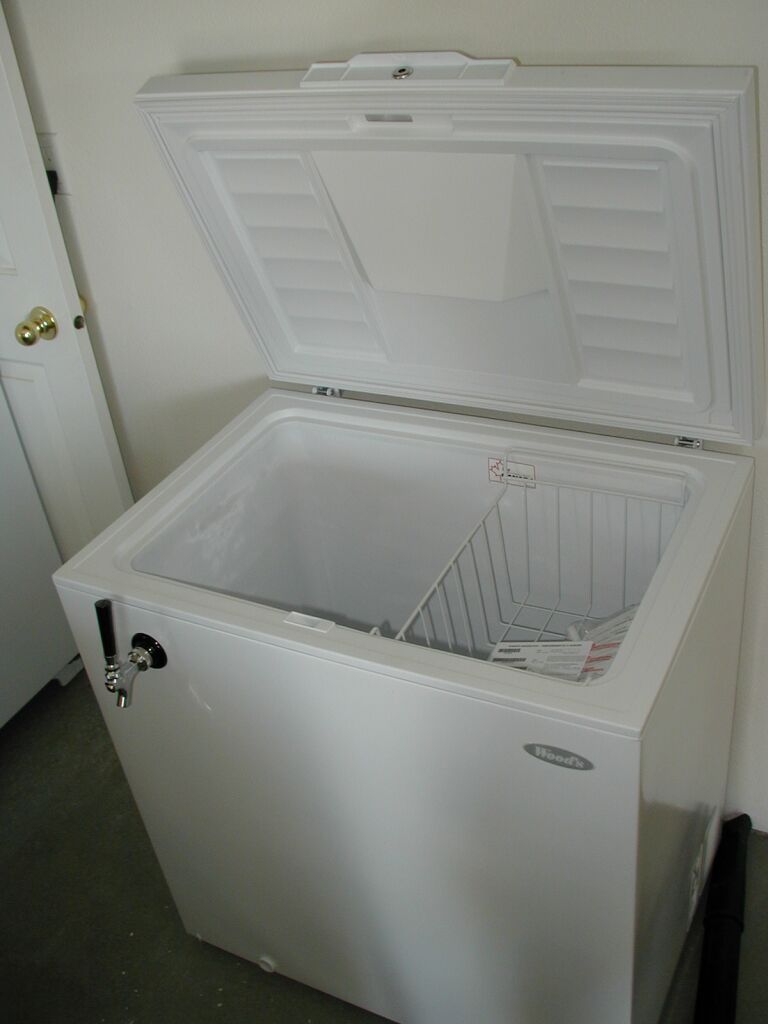
| This was my original brand new 7 cu-ft chest freezer (on July 4th, 2003). I originally put my kegs in here and served them.
|
| Here you can see the two faucets that have been drilled through the freezer wall and the drip tray installed. I do NOT recommend doing this. I nearly hit the cooling lines in the freezer wall, while drilling the left tap. Later, when I tried to add two more taps to the other side, I actually DID hit the cooling line. Ruined the freezer. Sigh.
|

| A view inside the chest freezer with the serving lines (make sure you use 3/16" ID tubing for these short runs to help keep the pressure up in the keg, but to avoid foaming at the tap. Basically, you can roughly keep 1.2lbs of serving pressure in your keg for each linear foot of 3/16" ID hose and avoid foaming.
|
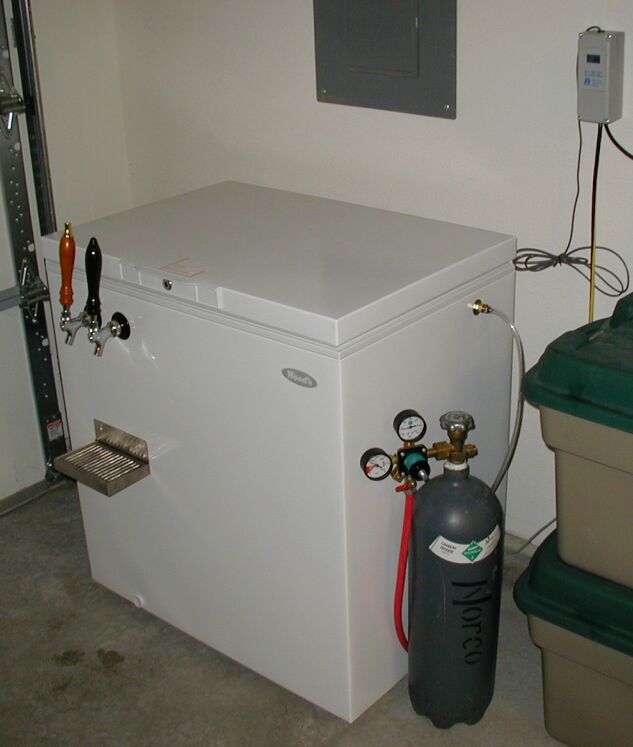
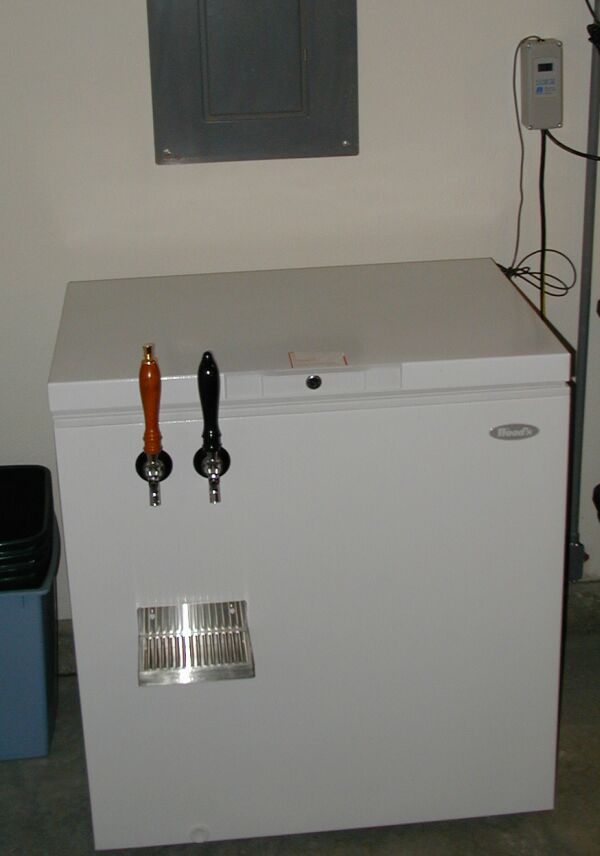
| All hooked up. Note the digital temperature controller on the wall in the upper right of the picture. I use this to control the temp of the freezer right at 40'F (it basically just cuts power to the freezer when it gets cool enough).
|
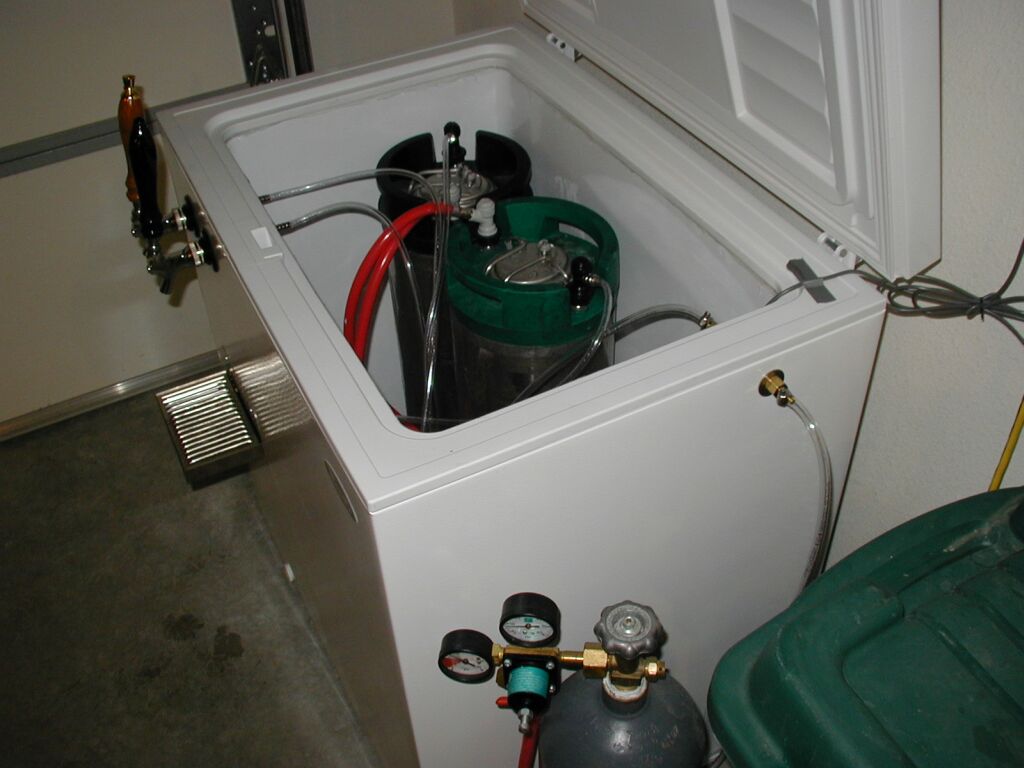
| View of the kegs inside the chest freezer.
|
